A baking pan is easiest to choose when you picture the finished food first. A little plate of mini muffins, a dozen cupcakes and six large breakfast muffins call for different cavities. The material and the way you support the pan matter too. This guide brings those decisions together so you can compare the CAKETIME range without relying on a product name alone.
Begin with a recipe you trust. Find out which pan size it expects, how much mixture it makes and how it describes doneness. Then compare that information with the measurements on the product page. A pan can give a bake its shape, but it cannot make every recipe work in every cavity.
Choose the portion before the pan.
The words mini, regular and jumbo are useful starting points, not precise universal standards. Two makers can use the same size label for different depths or top widths. Compare the actual measurements when you replace a familiar tin, buy liners or plan the number of portions for a gathering.
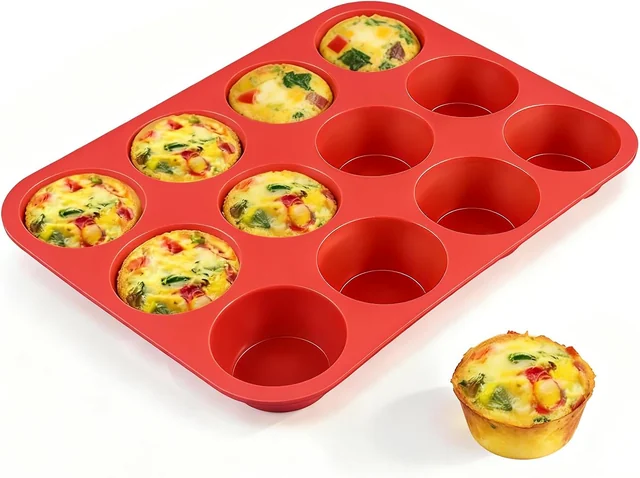
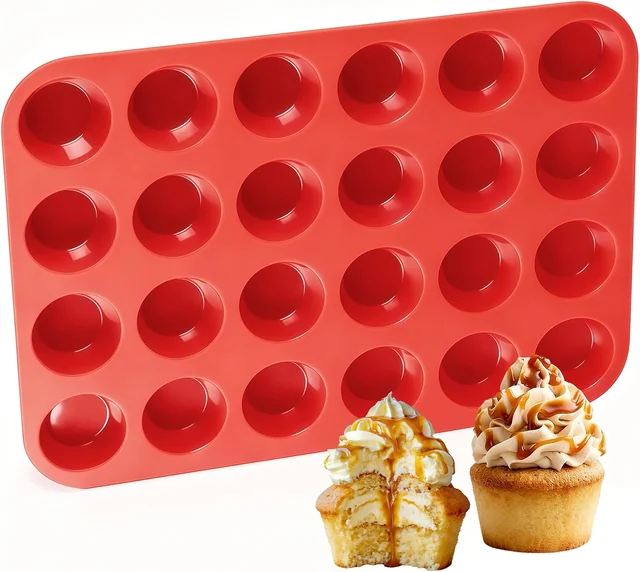
In our flexible muffin-pan collection, the red mini pan has twenty-four cups with a top diameter of 1.8 inches and a depth of 0.7 inch. The regular red pan has twelve cups measuring 2.75 inches across the top and 1.1 inches deep. The confetti jumbo pan has six larger cups, with a 3.5-inch top diameter and about 1.8 inches of depth.
| Format | A useful starting task | What to check |
|---|---|---|
| Mini, 24 cups | Small bites for a shared plate | Use a recipe or timing intended for mini portions |
| Regular, 12 cups | A familiar cupcake or muffin batch | Compare the cavity depth with your usual pan |
| Jumbo, 6 cups | Larger individual muffins | Allow the center to bake properly in the deeper cup |
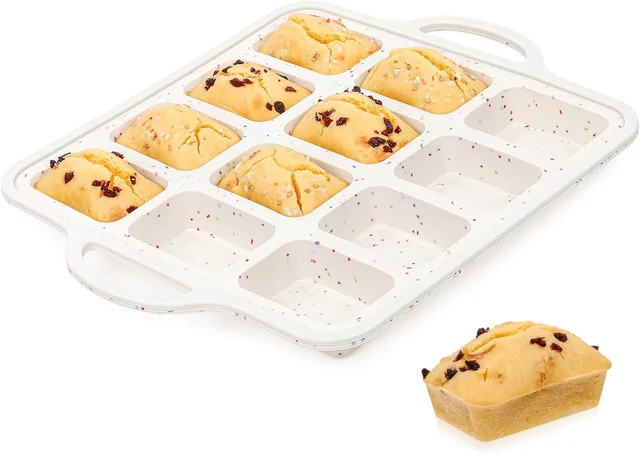
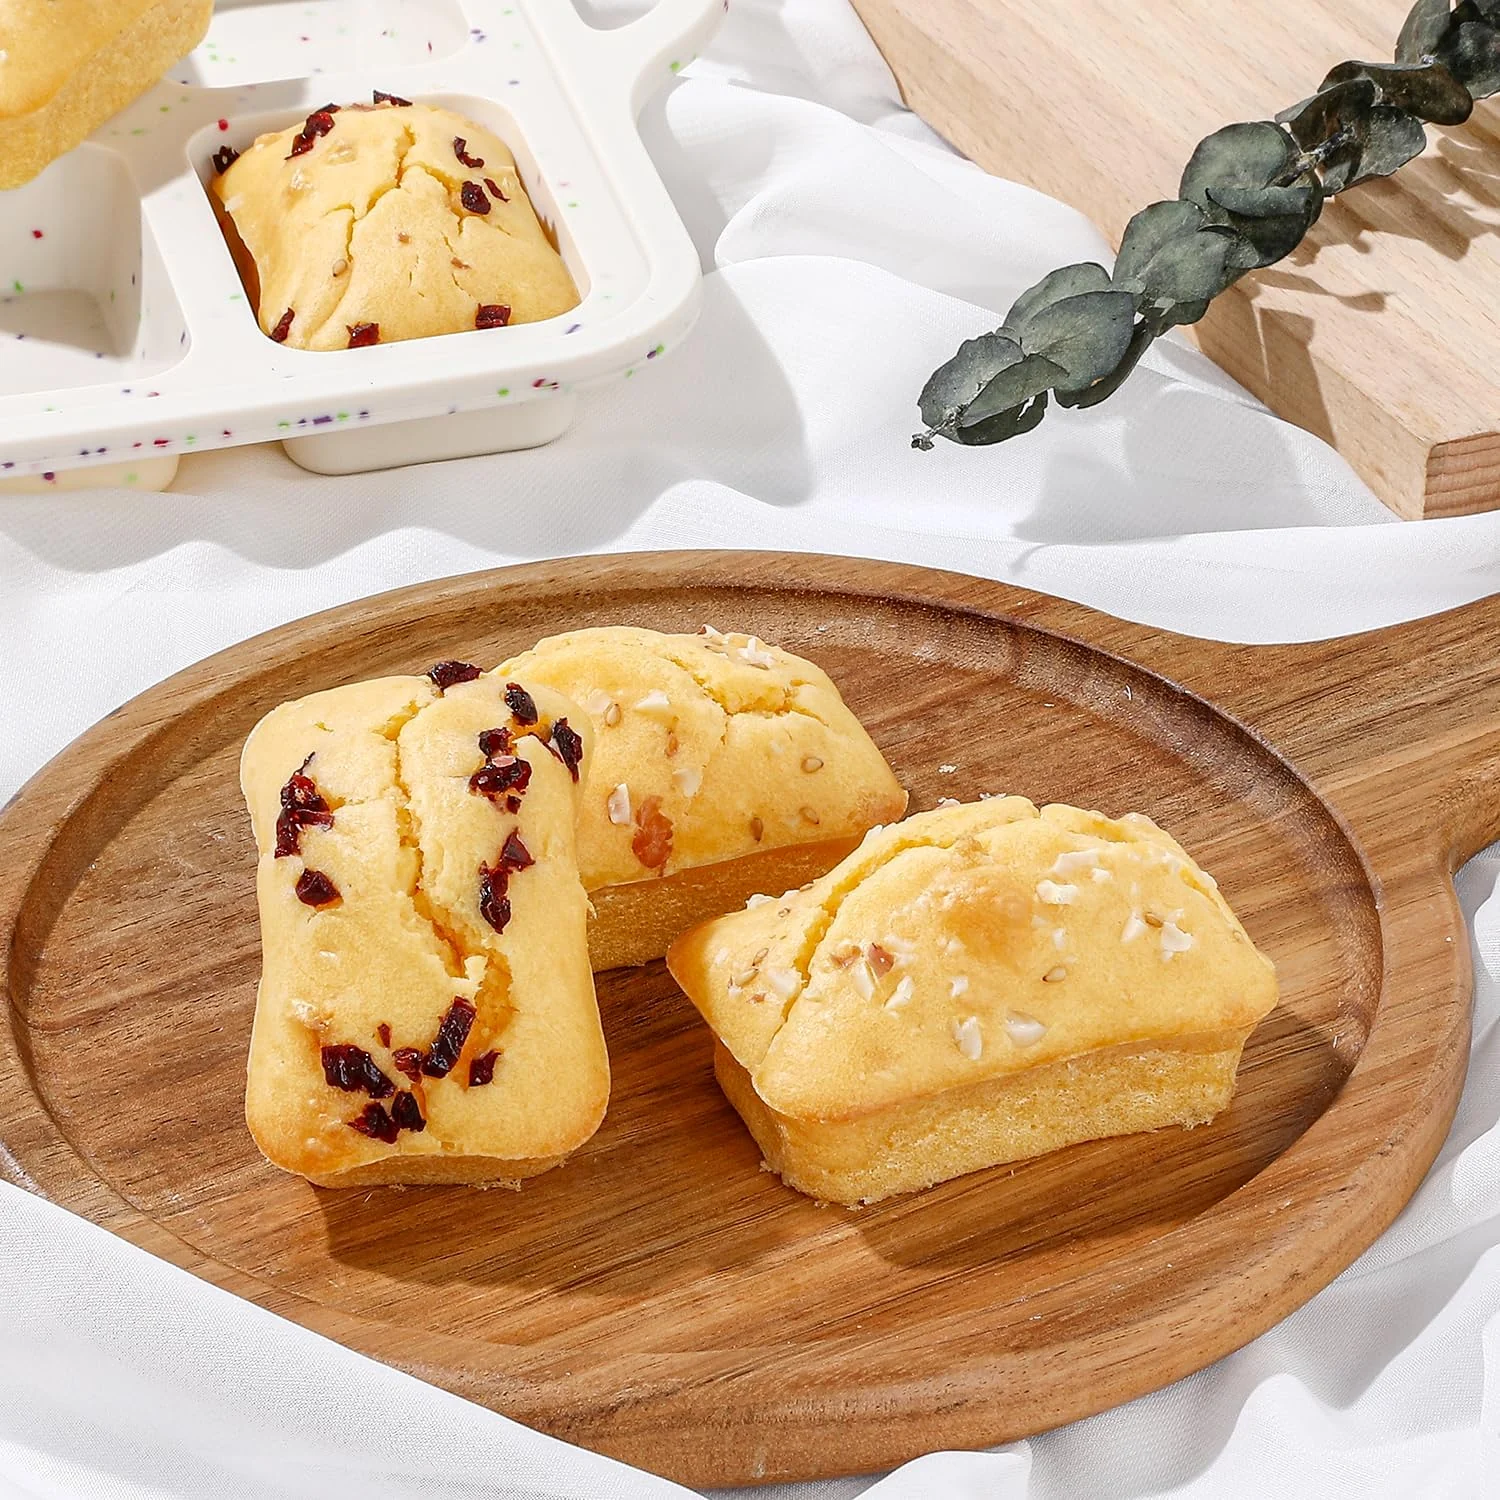
| Mini loaf, 12 cavities | Small rectangular breads or brownies | Choose a method for petite loaves, not a full loaf tin |
Do not assume that a twenty-four-cup mini pan holds the same total batter as a twelve-cup regular pan. Cup count describes how many spaces there are, not their combined volume. The sloping walls, base size and depth all affect capacity. A recipe specifically written for the format is a more reliable starting point than dividing the number of cups.
If you bake for a party, think about the serving plan as well as the pan. A small bite can fit on a mixed dessert plate, while a jumbo muffin may be a portion by itself. Write down how many finished pieces you want and how many batches the chosen pan will require. This simple plan helps you leave enough time for baking, cooling and washing between rounds.
Understand flexible and reinforced silicone.
CAKETIME offers fully flexible pans and silicone pans with a metal frame around the outside. Both have soft cups that can flex around the food. Their edges behave differently when you lift them, which is worth understanding before the first batch.
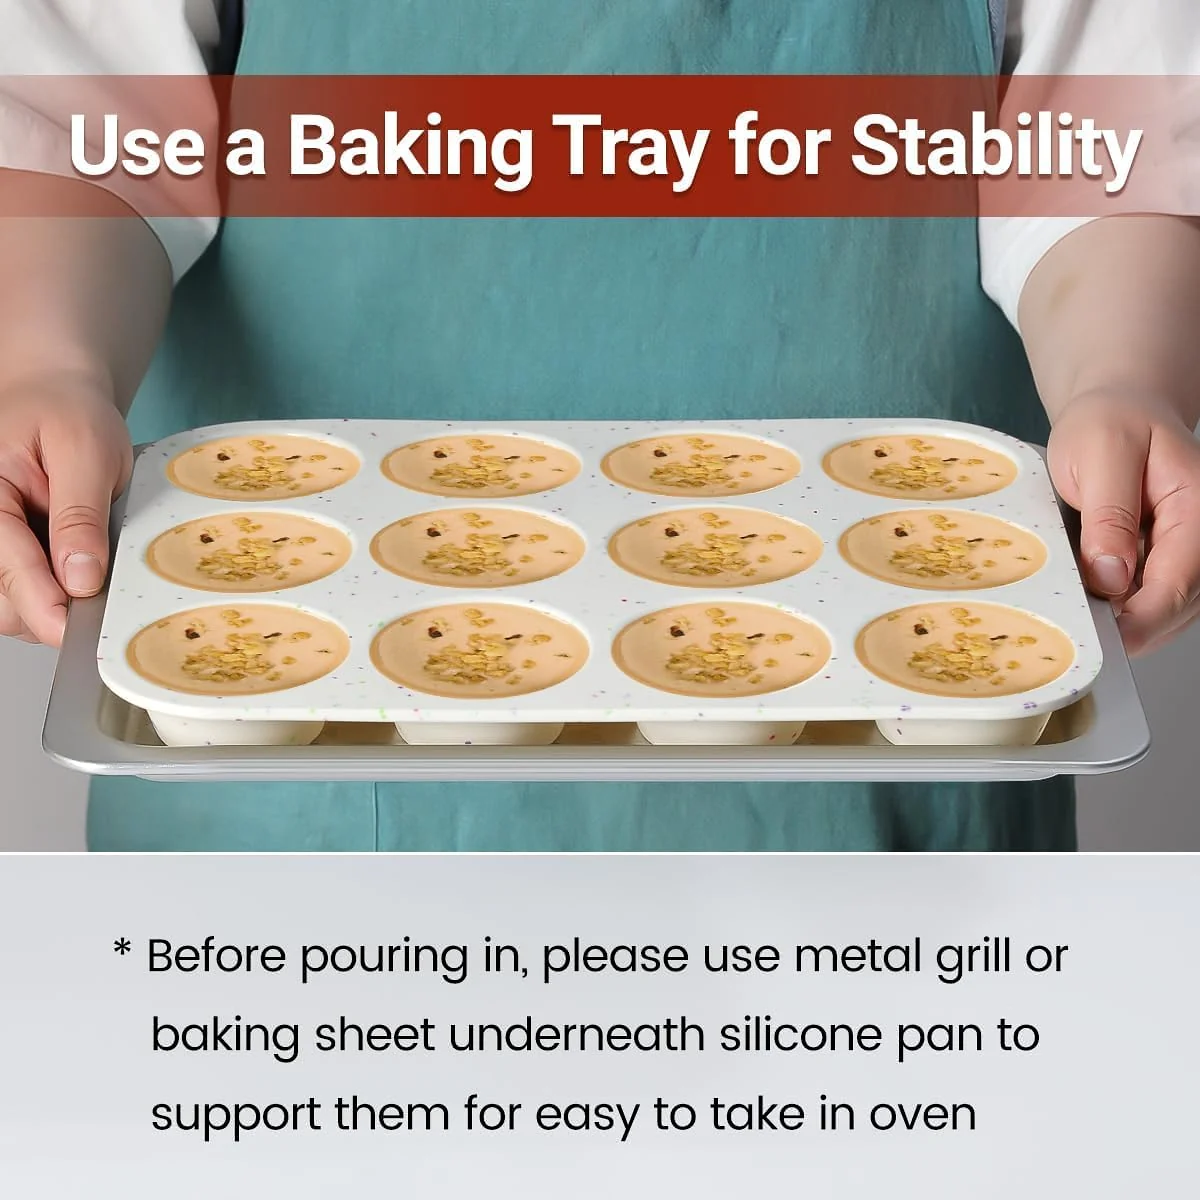
A fully flexible tray can bend across its width. That makes a supporting sheet important once the cavities contain batter. A reinforced pan has a more structured rim and handles, while the silicone remains flexible underneath. The frame should not be confused with a metal baking cup or a guarantee that liquid cannot spill. Keep a filled pan level and handle it carefully.
Metal and silicone can also produce different browning. Wilton’s muffin-pan guide notes that silicone does not heat like metal and may not brown baked goods in the same way. That is useful context when comparing results with an older tin. Choose the material for its handling and the kind of result you want, then learn how your recipe behaves in it.
Use a metal-reinforced pan for oven baking, not in a microwave. When a product includes more than one material, the finished design matters more than a general statement about silicone. Keep the instructions supplied with the pan and check them alongside the appliance instructions.
Set up before you pour.
Put the empty, fully flexible pan on an appropriately sized baking sheet before filling it. Choose a sheet that supports the base and can be held securely. Move it into position on the counter before mixing or portioning the batter so you do not need to lift a loaded, bending tray.
Check the oven space too. The pan and its supporting sheet need to sit level, with the clearance your oven requires. A pan that fits diagonally on a worktop may not fit comfortably on an oven rack. Handles and the raised edge of a sheet can add to the space you need.
Read the recipe’s preparation instructions before deciding whether to grease the cups or use liners. A smooth silicone surface does not mean every mixture will release without preparation. A delicate cake, a sugary mixture and a savory bake can behave differently. Use the recipe and the product instructions together.
Portion the mixture consistently. A scoop, spoon or small pouring jug can help you keep similar levels across the tray. Leave the rising space the recipe calls for. If one cavity is much fuller than the others, that piece may behave differently even though it sits in the same pan.
A simple setup check
Before filling: pan clean and dry, supporting sheet ready, oven space checked, recipe open and a clear place prepared for the hot tray. These small steps are easier while the pan is still empty.
Match the recipe to the shape.
Changing a pan changes the way the mixture is arranged. A deep loaf tin holds batter in one substantial mass. Twelve little rectangular cavities divide it into separate portions. A shallow mini muffin cup is different again. The ingredients may be familiar, but the baking time and the amount in each space need attention.
King Arthur Baking’s guide to alternative pan sizes explains why both area and depth matter when substituting pans. Its examples concern other pan formats, so they should not be treated as an exact conversion for these muffin molds. The useful principle is to compare the space the recipe needs rather than relying only on the name of the pan.
For a first attempt, choose a tested recipe already intended for mini, regular, jumbo or petite-loaf portions. Keep the oven setting and mixing method consistent with that recipe. Check the food using the recipe’s stated signs of doneness. A brown top alone does not tell you everything about the center.
If you plan to repeat the recipe, keep a short kitchen note. Record the pan, the amount placed in each cavity, the oven setting, the point when you first checked it and the final result. Change one variable at a time on a later batch. That makes the note useful instead of leaving you to remember several adjustments at once.
Give the bake time, then clean the corners.
A freshly baked cake may still be too soft to hold its shape. Follow the recipe’s cooling instructions and allow the mixture to set before turning out the cups. Flexible silicone makes it possible to ease the walls away, but pulling on a soft top can still tear a delicate bake.
Work around the edge gently, support the food and press beneath the cup. If it resists, pause and check whether it needs more cooling. Avoid inserting sharp utensils into the mold. Cutting directly inside silicone can damage the surface even when the food itself releases easily.
Wash away crumbs and oily residue after each batch. Pay particular attention to the bottom corners of rectangular molds and the small details in candy shapes. The products in this collection support dishwasher cleaning; hand washing with dish soap is another option. Let the pieces dry completely before stacking or storing them.
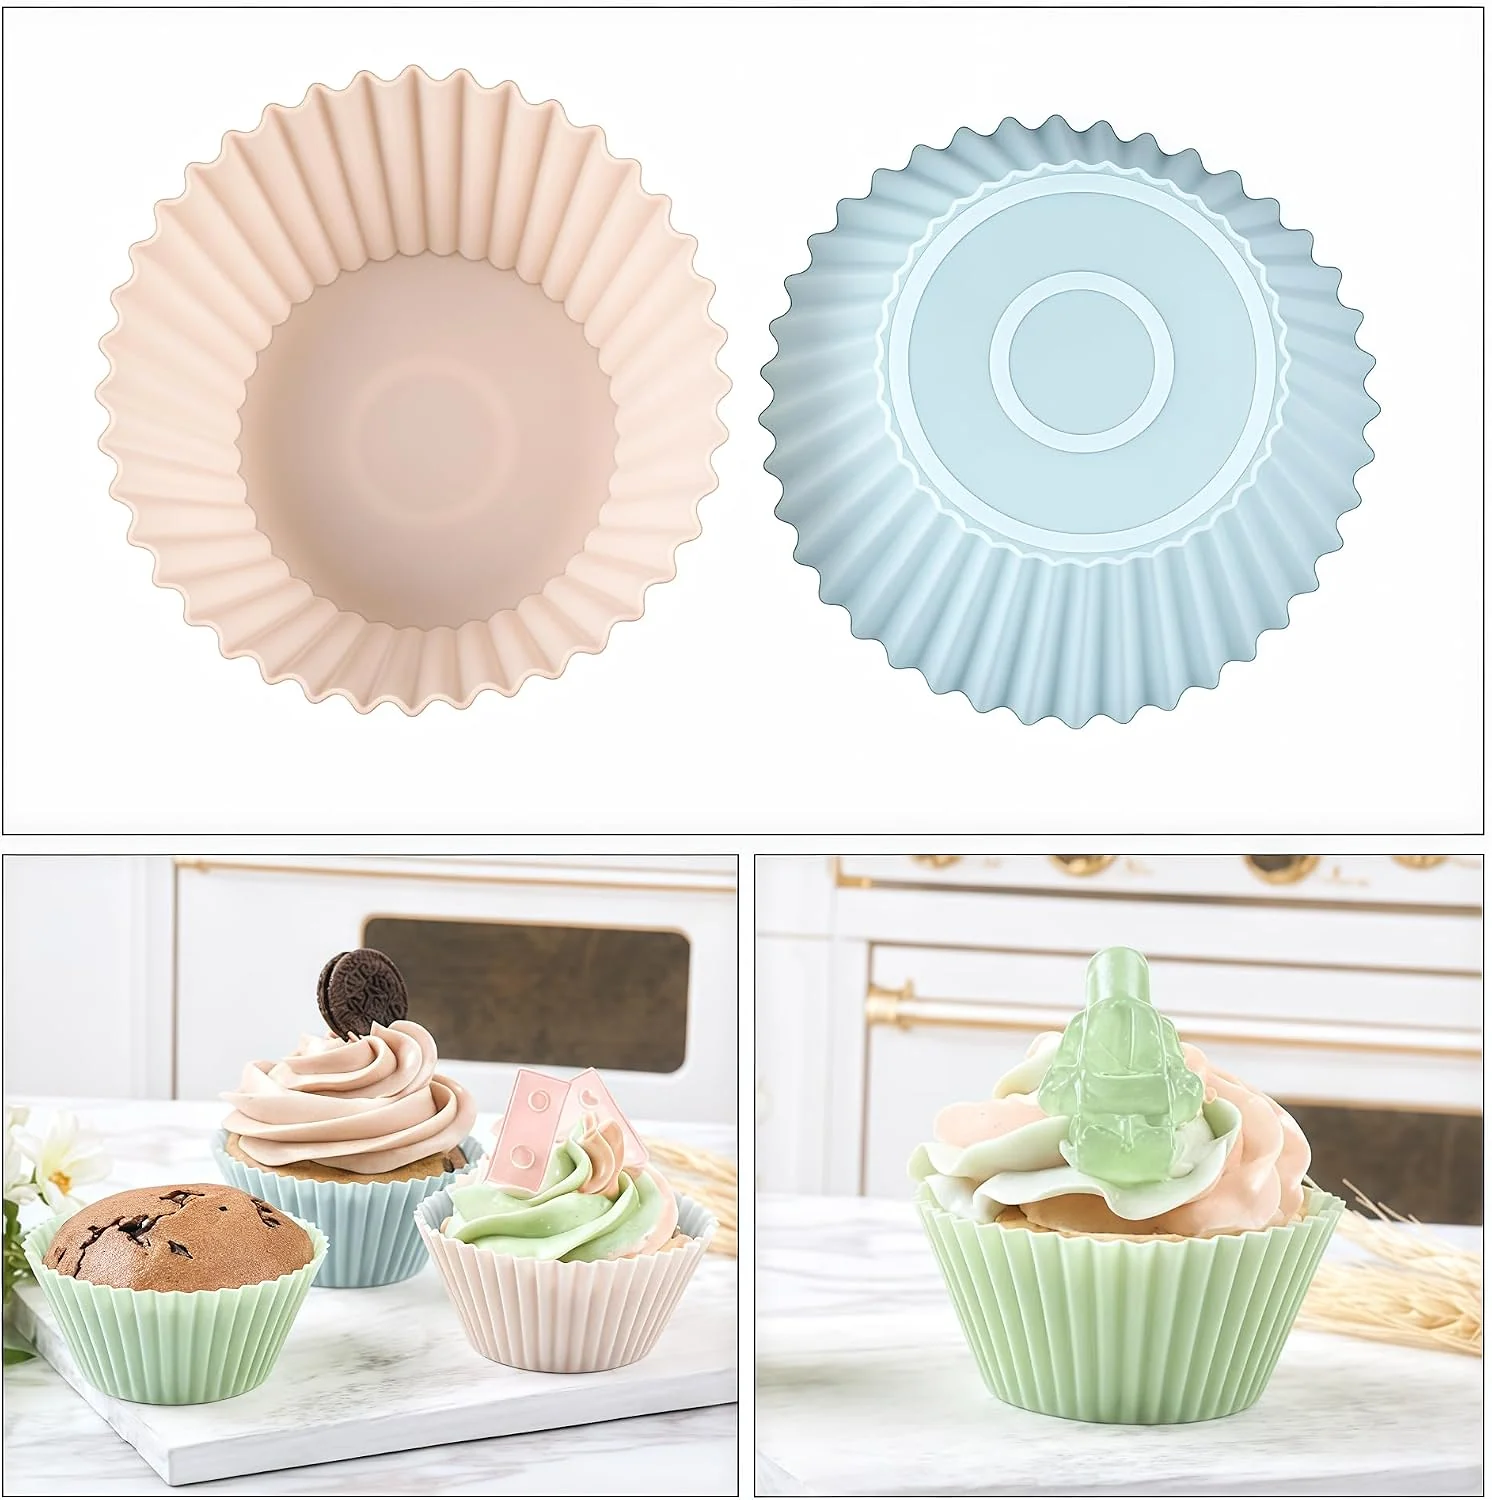
Individual baking cups have their own folds and edges. Separate them for washing so that water reaches each surface, and check that moisture is not trapped between nested cups. Store them without forcing a sharp crease into the silicone. Look over bakeware periodically and replace damaged items according to their instructions.
Keep food tools separate from craft tools. If a mold has been used for soap, resin or another non-food mixture, do not put it back into your food-preparation collection. A distinct storage box or label can prevent an accidental mix-up.
Check a compact oven or air-fryer basket.
A round pan can be a useful shape when a rectangular tray will not fit. Our seven-cup confetti pan measures about 8.45 inches across. That number is only the beginning of a fit check: look at the usable basket width, the handles, the sides and the clearance required around the insert.
Appliance capacity in quarts does not give you the exact basket dimensions. Two appliances with the same stated capacity can have different shapes. Measure the space where the pan will sit and check the appliance instructions for suitable inserts and airflow. Keep the pan away from the heating element.
Use a baking method intended for the appliance. Do not assume an ordinary oven timing transfers unchanged to a compact oven or air fryer. Check the recipe and the equipment instructions together, and keep a note of the result if you plan to bake the same batch again.
Plan one first batch you can repeat.
Choose a familiar recipe in the correct format rather than changing the ingredients, pan and appliance at the same time. For example, a regular muffin recipe and a twelve-cup pan give you a clearer starting point than converting a large loaf into mini bites on the first attempt.
- Identify the pan. Write down its cup count, top width, depth and construction.
- Check the setup. Confirm the supporting sheet and oven space before filling.
- Follow the recipe. Keep the mixing method, preparation and fill level consistent.
- Check the result. Use the recipe’s doneness guidance, then allow the required cooling time.
- Keep one useful note. Record what worked and the single detail you would change next time.
When the format feels familiar, explore another shape for a different serving plan. A mini loaf pan gives a rectangular portion. Individual baking cups let you arrange a smaller mixed batch. Candy molds are a separate choice for mixtures that set into fine details. Choose the tool for the food you want to make, and keep the recipe in charge of the method.
Think in batches, not just in cup counts.
Before you choose between twelve regular cups and twenty-four mini cups, picture how the food will be served. A breakfast muffin needs a different portion from a small bite on a party plate. Two mini cavities do not necessarily hold the same amount as one regular cavity, and the names alone cannot tell you how far a bowl of batter will go. The useful comparison is the recipe’s intended portion alongside the actual width and depth of the pan.
For a familiar dozen, our regular flexible pans offer twelve cups with a 2.75-inch top diameter. The mini pan has twenty-four cups with a 1.8-inch top diameter. A six-cup jumbo pan changes the plan again, with a wider top and a deeper cavity. Start with the format you want to serve, then decide whether you need one pan or several oven rounds. This order keeps the purchase connected to your kitchen rather than to the largest number printed on a listing.
Make a simple oven-space plan.
Measure the usable flat area of the baking sheet that will support a flexible mold. Compare that space with the complete pan, including its rim and handles where dimensions are available. A tray that fits inside the oven can still be too small for the silicone pan placed on top of it. Avoid leaving soft cups hanging over an edge. The support should carry the whole pan without forcing the mold into a shape it was not designed to hold.
Next, check the oven with the intended rack in position. Account for the baking sheet, the pan and the rising food, as well as the clearances in your appliance instructions. If you plan to use more than one tray, follow a recipe that explains rack placement and any rotation. Adding another tray can change the conditions around the food. Do not turn a one-tray recipe into a crowded oven arrangement simply because the second pan physically fits.
Use a portioning routine you can repeat.
Set the empty pan on its support and keep both on a level work surface. Prepare the cavities as your recipe and product instructions require. Then use a suitable spoon, scoop or pouring jug to distribute the mixture. Work across the pan in a consistent order so that you can spot an empty cup or an unusually high portion before lifting the tray. Wipe spills from the rim when it is safe to do so; a clean edge also makes the shape of each cavity easier to see.
If the recipe gives a fill fraction, use that instruction instead of filling to the top. A thicker muffin batter, a fluid cake batter and a savory egg mixture do not behave identically. Their expansion and doneness checks can differ. Keeping the recipe, portioning tool and cavity size consistent gives you a more useful first result than changing all three at once. If batter remains, follow the recipe’s guidance for holding or baking the remainder rather than overfilling the chosen pan.
Plan the cooling space before the oven timer rings.
A filled tray needs somewhere stable to land. Clear the counter and choose a heat-resistant resting place that supports the baking sheet or reinforced pan. Keep the route between oven and counter clear, and use suitable oven protection. A silicone handle should not be treated as a cool handle just because the material feels soft. The tray, frame, steam and food can all remain hot after baking.
Read the recipe’s cooling and unmolding instructions before the batch is ready. Some foods need time in the pan to hold their shape; others need a different sequence. Have the cooling rack or serving plate ready so you can support the food as it leaves the mold. Work gently around one cavity rather than stretching the whole pan at once. If the first piece is too delicate to release cleanly, pause and reconsider the recipe’s cooling guidance before pulling harder on the next one.
Choose one useful detail to record.
A short kitchen note can make the next batch easier without turning baking into a complicated log. Record the recipe, exact pan format, support used and the result you want to change. For example, note whether a particular cavity shape was awkward to fill, whether the supporting tray had enough room or whether you needed a different tool to reach the corners during washing. These observations describe your own setup and are more useful than a universal promise about baking time.
Change one relevant detail on the next attempt while keeping the recipe’s essential method intact. If you switch from regular cups to mini cups, start with suitable recipe guidance for that format and make a new note. A timing that worked for one size should not become a rule for every pan in the cupboard. The aim is a familiar, repeatable routine: choose the portion, arrange the support, follow the recipe and give the finished food the handling it needs.
Keep everyday tools easy to find.
Once the pieces are clean and completely dry, group them in a way that makes their purpose obvious. Individual cups can be separated by shape, so you can set out a matching batch without searching through every piece. Flexible trays should be stored without sharp tools pressed into their cups. Reinforced pans need enough space for their handles and frame. Keep the product’s care instructions where you can find them again, particularly when different materials share the same cupboard.
Further reading
For general guidance on silicone-pan support, browning and care, see Wilton’s Muffin and Cupcake Pans 101. For the principles behind changing pan sizes, read King Arthur Baking’s alternative pan-size guide. Dimensions discussed here refer to the individual CAKETIME options linked in our collection.